

In WP Admin → Appearance → Menus, click the Services menu item → URL field. Change it from /#services to the correct section anchor or a dedicated page URL.
4. Add “Join Our Community” popup CTA button
The header button triggers an Elementor popup (ID 1441). To change the popup: Templates → Popups → edit popup 1441. To change the button style, select the Button widget in the header template and adjust Style settings.
5. Add active menu item highlight
WP Admin → Pages → Home → Edit with Elementor. The hero is the first full-width section at the top.


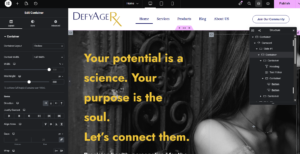
2. Understand the 3 duplicate heading blocks
The hero currently renders 3 copies of the heading+CTA block in HTML — one for desktop, one for tablet, one for mobile. Only the correct one should be visible per breakpoint. Click any heading → Advanced → Responsive → set Hide on Desktop / Tablet / Mobile accordingly so only one copy shows per device.
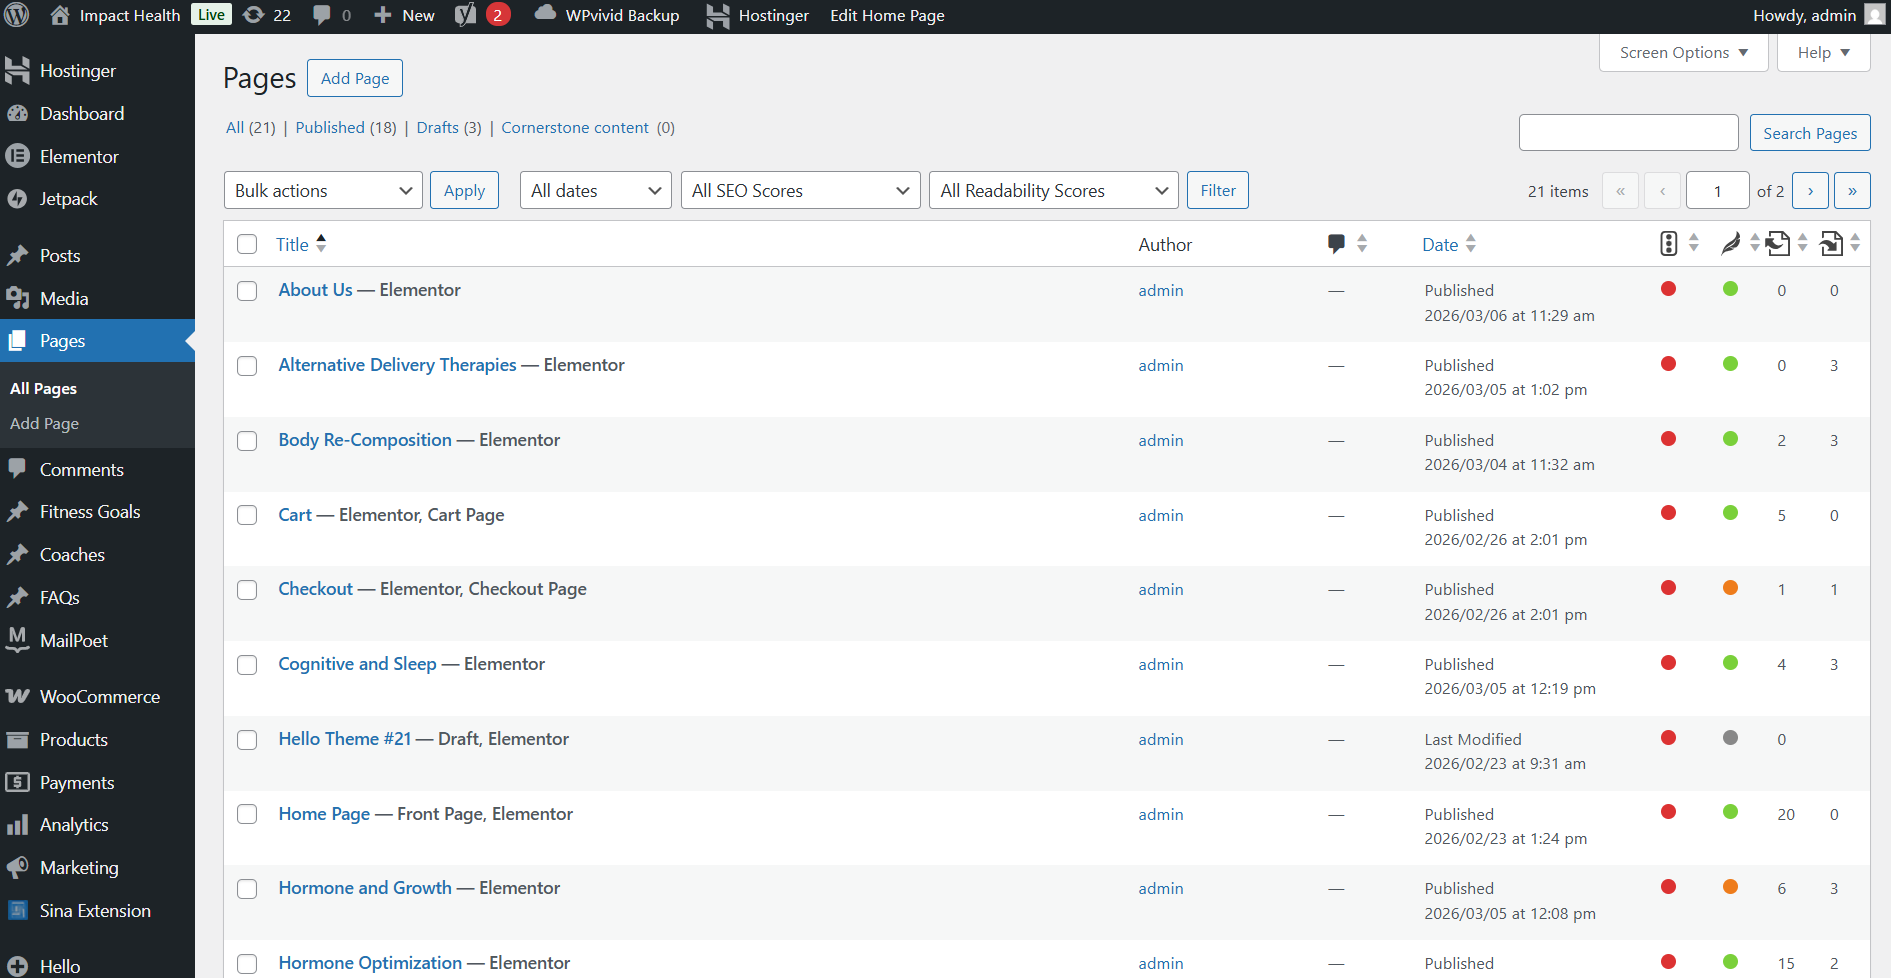
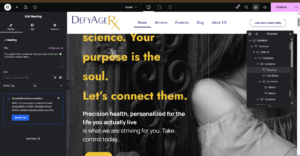
3. Edit heading text
Click the heading “Your potential is a science…” → Content → Title field. Edit the text. Do the same for the sub-text and both CTA buttons.
Click the hero section (not a widget) → Style tab → Background → click the image thumbnail to replace it. For video background, switch Background Type to Video and paste a self-hosted MP4 URL.
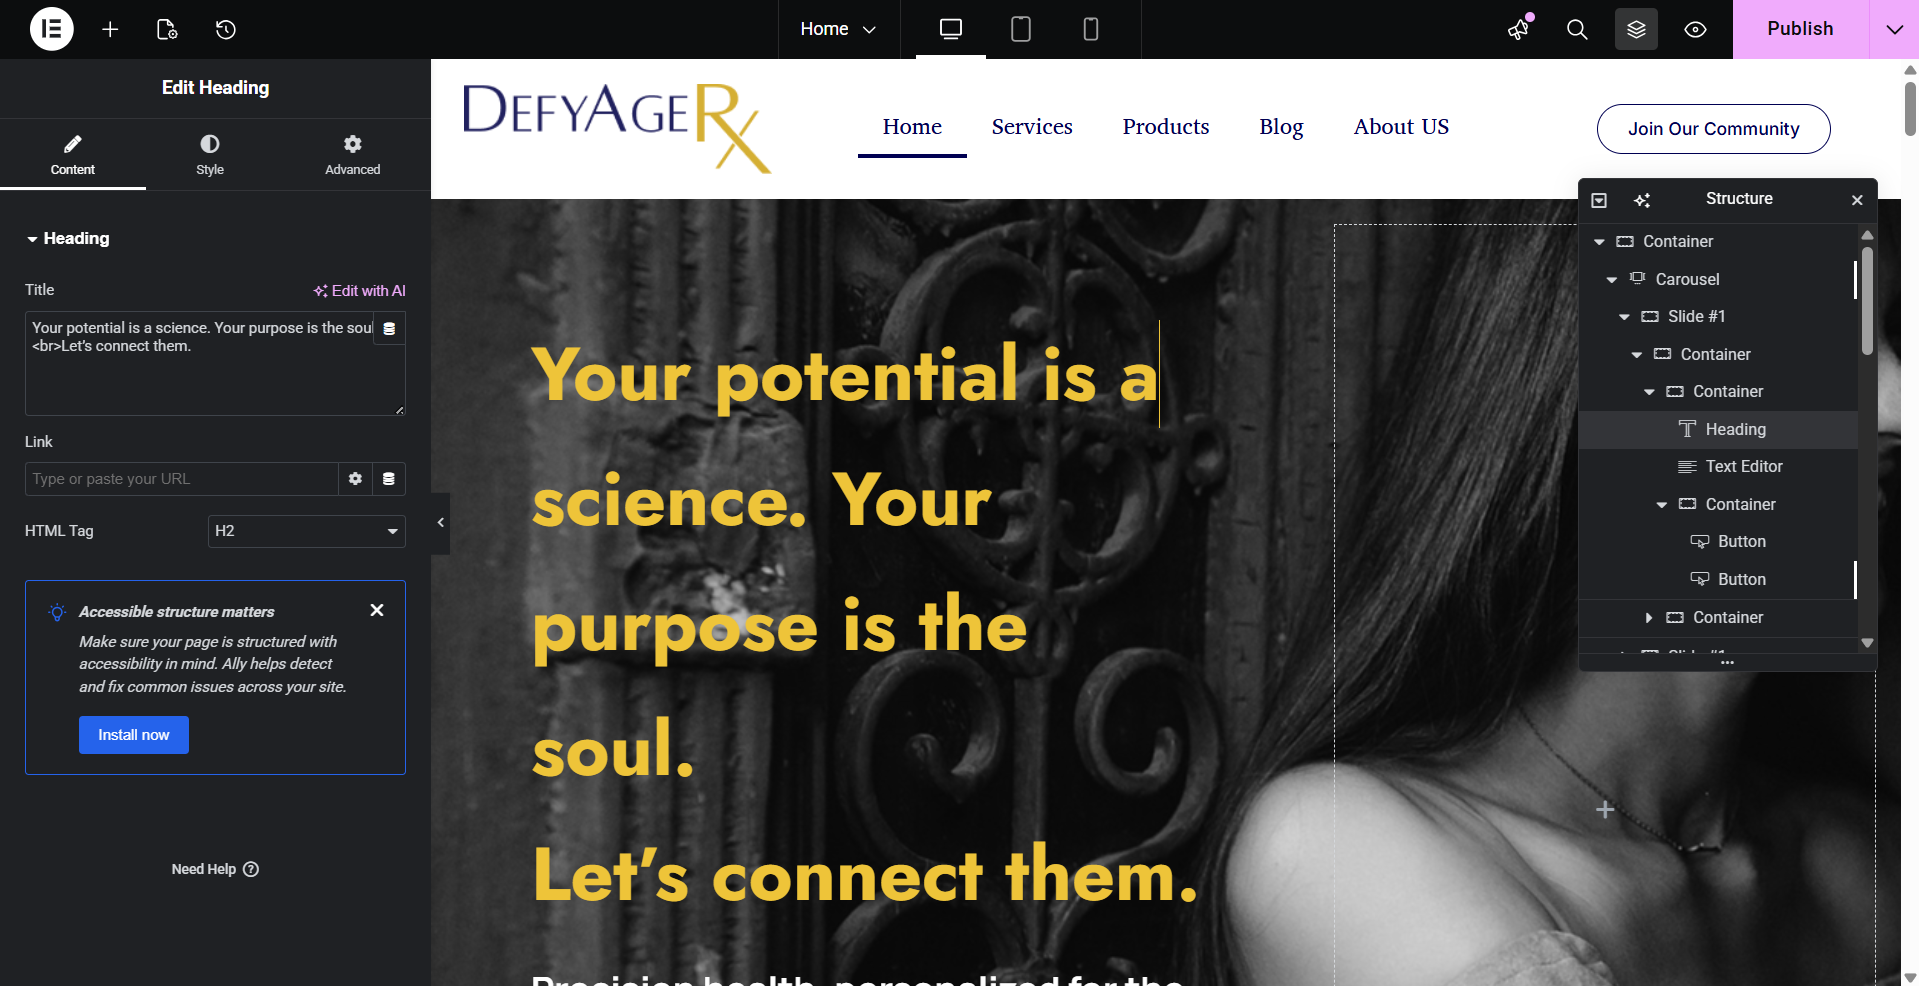
5. Fix “Get Started” popup link

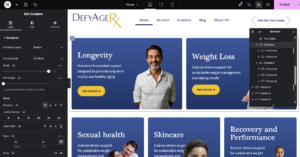
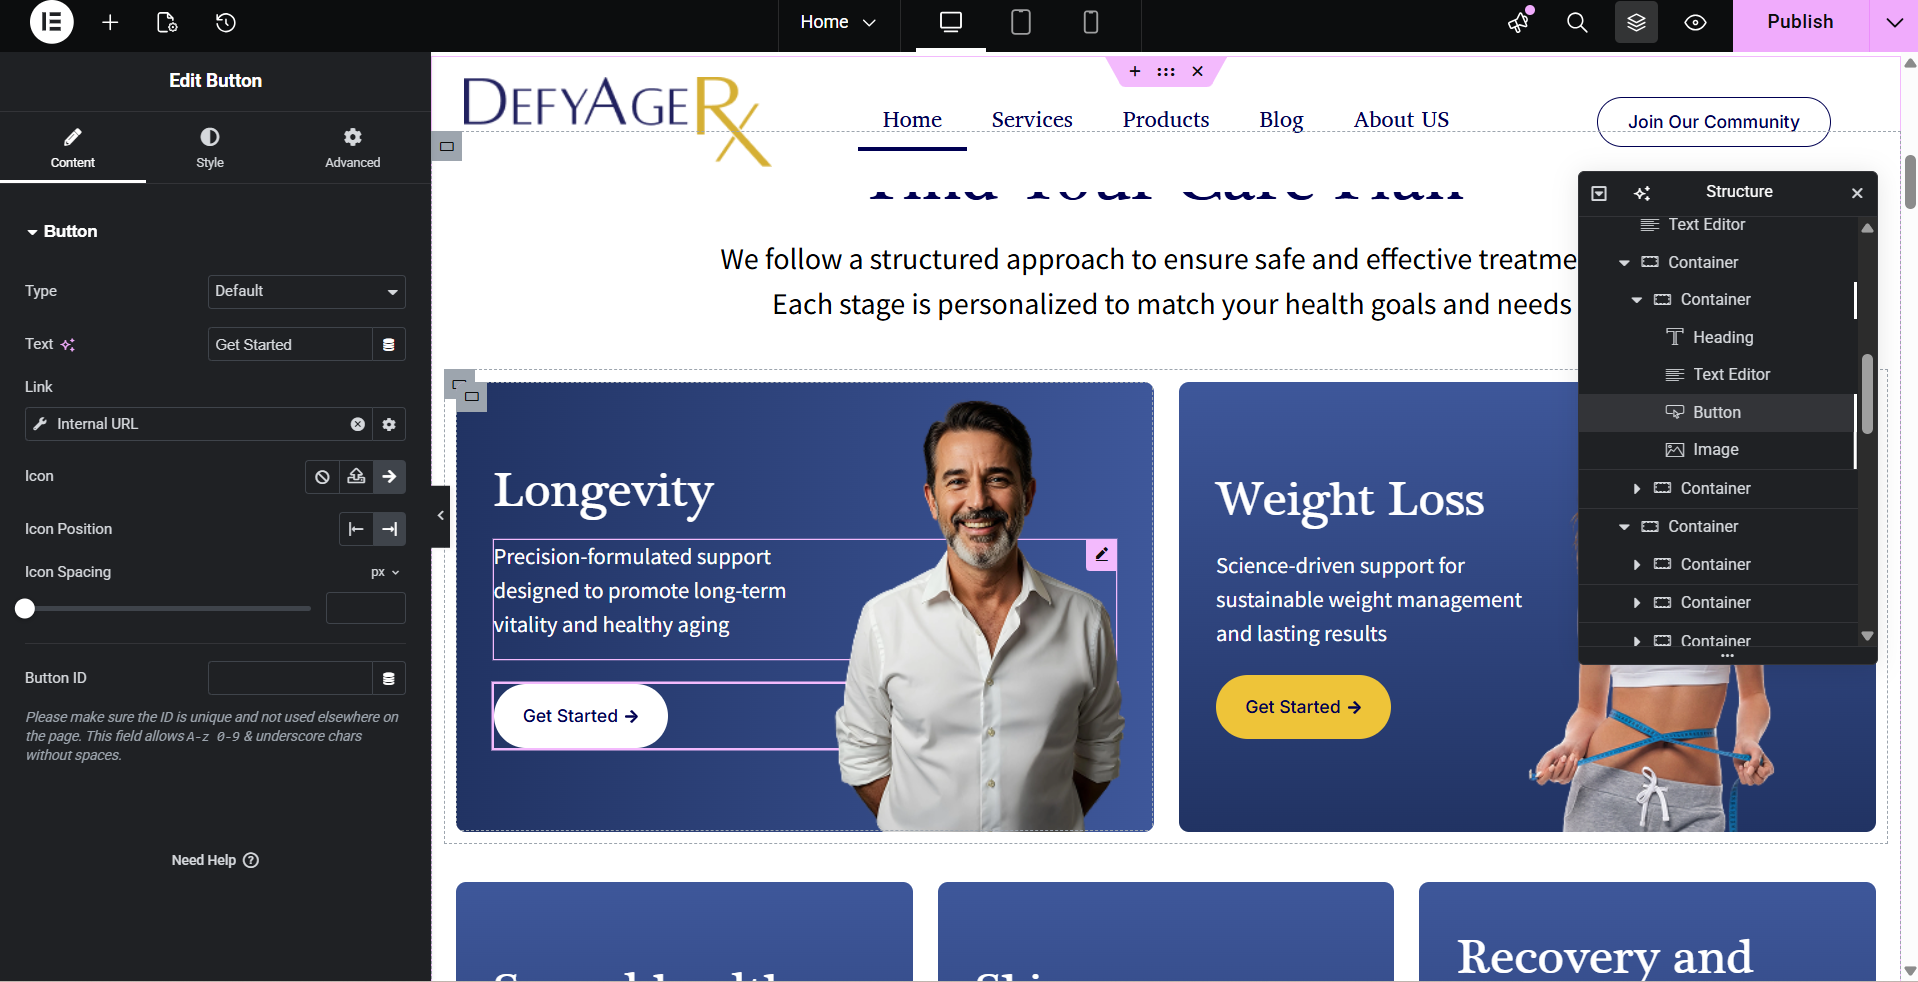
4. Update “Get Started” button links
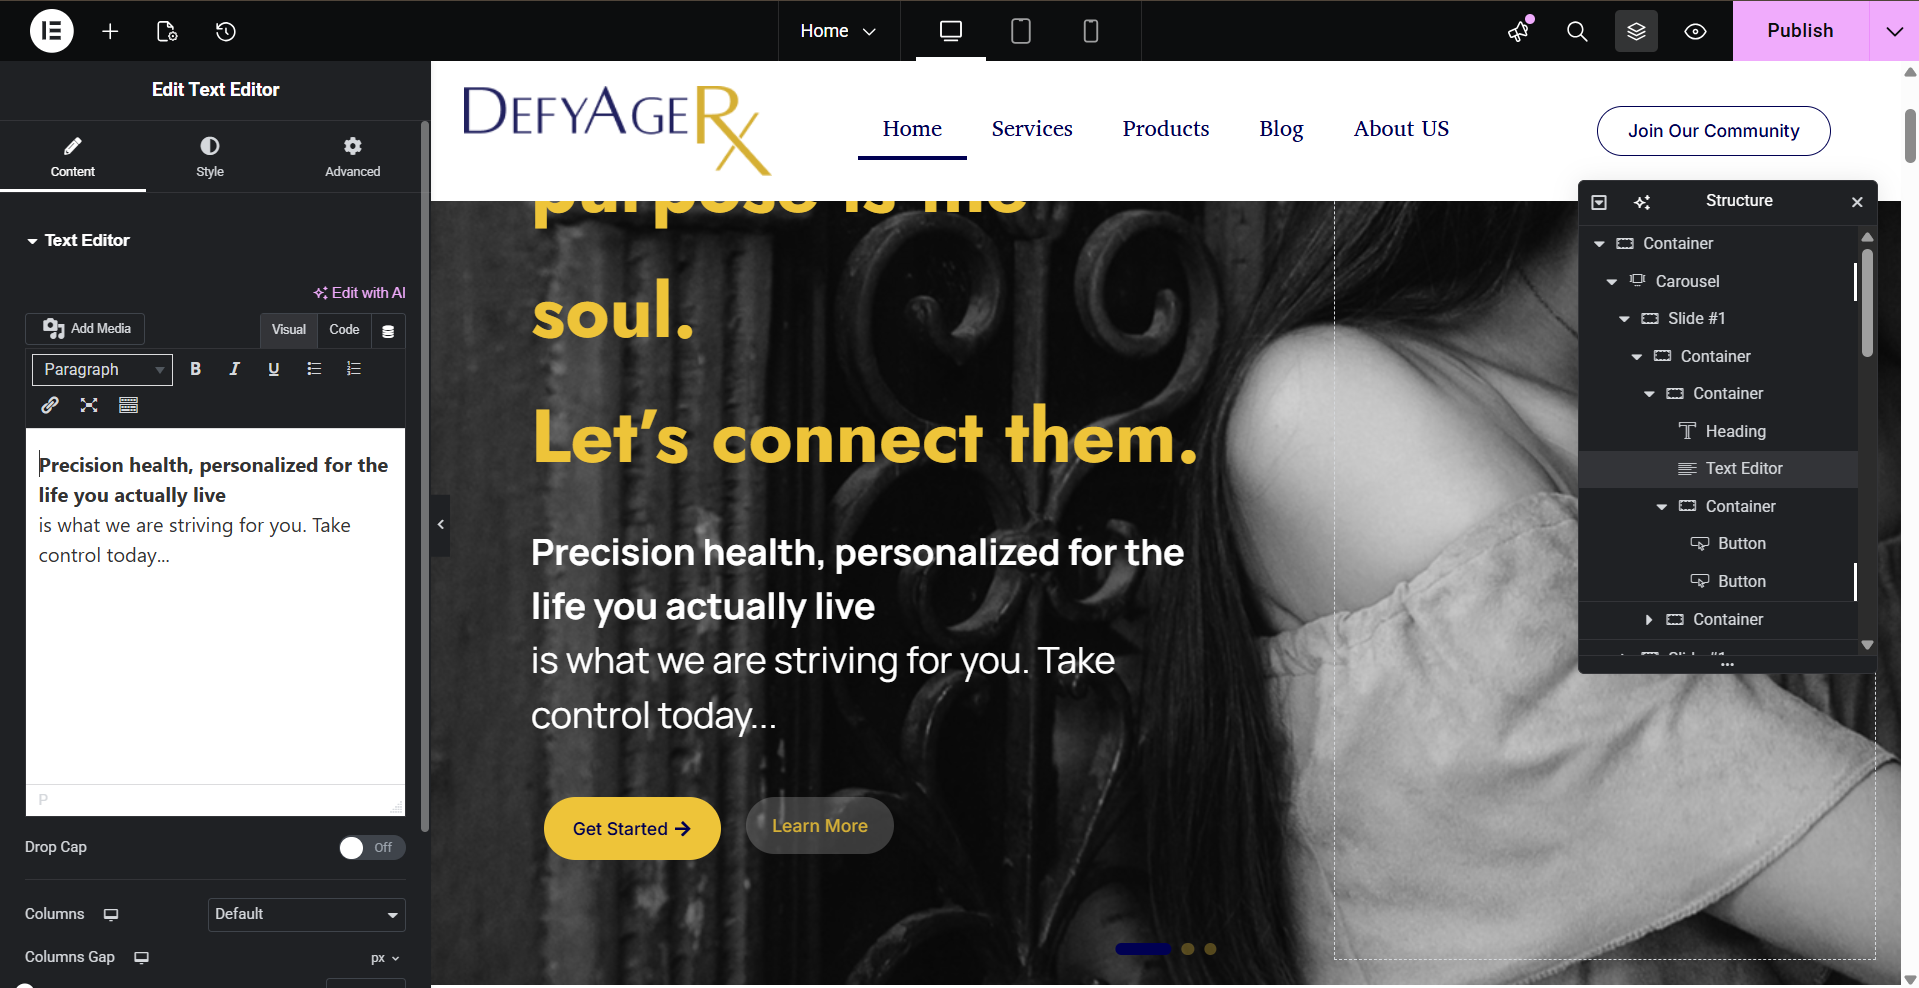
Click each card’s button → Content → Link. Set the correct page URL for each service (e.g. /longevity/, /weight-loss/, etc.). All currently link to # which is non-functional.
All Page Tutorial — Using Elementor
1. Locating the Page in WordPress
- In the WordPress dashboard, go to Pages → All Pages.
- Find the page labeled Ex : “Home” (or whichever page is set as the homepage).
- If you don’t see “Home,” check Settings → Reading to see which page is set as the “Homepage.”
- Click Edit with Elementor on that page.
2. Editing Content in Elementor
Once you’re in the Elementor editor:
a) Selecting a Section / Widget
- Hover over a section; you’ll see Pink border and icons for Edit Section, Duplicate, Delete, etc.
- Click the Edit Section (6 dots icon) to modify the section’s layout, style, padding, etc.
- Inside the section, hover a widget (like a heading, text editor, image) and click the Edit Widget icon (pencil icon).
b) Editing Text Content
- After clicking Edit Widget on a Text or Heading widget, on the left panel you’ll see the “Content” tab where you can change the text (title, paragraph, list, etc.).
- Use the “Style” tab to change typography, color, spacing.
- If needed, use the “Advanced” tab for margins, padding, motion effects.
c) Editing / Replacing Images
- Click the Image widget (or the widget that holds an image) and in the left panel under “Content → Choose Image” you can pick a different image from Media Library or upload a new one.
- You can also change the image size, alignment, caption, link, etc.
- Under “Style,” you can add borders, shadows, hover effects, etc.
d) Editing / Replacing Button Content
- Select the Button Widget
Click the button you want to edit. The left panel will display the Button widget settings. - Edit Button Text
Under the Content → Text field, you can change the label of the button (e.g., “Let’s Begin” → “Get Started”). - Edit Link / URL
In the Link field, enter the URL where you want the button to navigate. This can be an internal page, external site, or a custom anchor. - Style the Button
- Switch to the Style tab to change:
- Text color
- Background color
- Typography (font, size, weight)
- Borders, border-radius, or shadows
- Hover effects
- Switch to the Style tab to change:
- Advanced Settings
In the Advanced tab, you can adjust:
- Margin and padding
- Motion effects
- Responsive visibility (show/hide on desktop, tablet, mobile)
Save Changes
Once edits are done, click Update at the bottom of the Elementor panel to save your changes.
3. Editing Accordion Text (FAQ)
Select the Widget: Click directly on the Accordion widget. The left-hand sidebar will change to show the Content tab.
Expand the Item: Under the “Accordion” section in the sidebar, you will see a list of your items (e.g., Accordion #1, Accordion #2). Click on the specific item you want to change. It will drop down to reveal the editing fields.
Edit the Title & Content:
Title: Change the text that appears on the bar.
Description: This is the “open” text. You can type directly into the text box or use the Visual/HTML editor tabs.
The “Click to Open” Trick: If you want to see the text change live on the page while you type, click the Title of the accordion item on the actual page preview. Elementor will expand it so you can see the content area you are styling.
4. Adding New Content / Elements
To insert new widgets or sections:
On the left panel (Elementor toolbox), search for the widget you want (Heading, Image, Button, etc.).
Drag & drop it into your desired section or into a new section.
Configure its content, style, and advanced settings as above.
To add a new section: click the “+” icon (Add New Section), choose structure (e.g. one column, two columns etc.), then drag widgets into it.
5. Deleting Sections / Widgets / Images
To delete a widget: hover over it → right-click → Delete (or click the “X” icon).
To delete a section: hover the section → right-click the 6-dot handle → Delete.
If deleting an image from the media library (sitewide): go to Media → Library, find the image, click it and choose Delete Permanently. (Be cautious — if it’s used elsewhere you’ll break that usage.)
5. Publishing / Saving Changes
- After you make edits, click Publish (Top Right) in Elementor to save changes.
- View the page (Preview Changes) to ensure it looks correct on desktop, tablet, mobile.
Documentation Steps to Edit This:
| Step | Action | Notes / Tips |
|---|---|---|
| 1 | In Elementor, locate the top section (hero) | Use the navigator (bottom left icon) to find “Section – Hero” easily |
| 2 | Change background image or color | Click Edit Section → Style → Background → Choose Image / Overlay |
| 3 | Edit heading text | Click the heading widget → change text under “Content” tab |
| 4 | Edit paragraph / description | Click the text / editor widget → update content |
| 5 | Edit button (label / link) | Click button widget → Under “Content” change text, set URL (link) |
| 6 | Add / remove widget in this section (e.g. add icon or link) | Drag a widget (icon, text, etc.) into this section, adjust layout |
| 7 | Delete a widget if not needed | Right-click → Delete |
| 8 | Adjust spacing / padding to make layout neat | Use “Advanced” tab → padding / margin settings |
| 9 | Preview across devices | Use the responsive mode toggles (desktop / tablet / mobile) |
| 10 | Click Update to save | Always save after changes |
How to Add a WooCommerce Product
you need to add products, and you just need a product name and a price to begin. On this page, you’ll learn how to add the various types of core WooCommerce products.
1.Adding a Simple product
Let’s add a Simple product. You’ll need:
- Product name
- Product’s regular price
- Product image (from your Media Library)
The following example results in a basic product listing, without a description, assigned to the default “Uncategorized” product category:
- Go to WooCommerce > Products > Add Product.
- Enter a Product name.
- In the Product data > General section, the Product type should default to Simple product.
- Enter amounts for Regular price, Sale price, and Cost of goods as applicable.
- If needing to track inventory, see our Inventory section of the Product data documentation.
- In the Product image panel in the right-hand column, click the Set product image link.
- Select the image you want to use and click the Set product image button.
Select an existing category by ticking the checkbox.
Example: Mens Health,Womens Health etc.
If the category does not exist:
Click + Add new category
Enter Category name
Select Parent category (optional)
Click Add new category.
- Click the Publish button in the Publish panel.
- Click the View product link at the top of the screen to view the newly created product.
2.Adding a Variable Product
Adding a variable product is similar to adding a simple product, but with a few more details to consider.
To add a new variable product:
- Navigate to “Products” in WP-Admin (the site’s admin area).
- Click Add New Product at the top of the page.
- Enter the product name.
- Choose “Variable Product” from the “Product data” dropdown menu.
- Click on the “Attributes” tab on the left hand side under the Product data dropdown.
- Add either a global/existing attribute or create a new one(specific to the product):
- Adding a Global Attribute:
- If you’ve already created global attributes, select the one you want to use from the “add existing” dropdown menu at the top of the settings.
- Select the variations/values you’d like to use from that attribute. You can add them all by clicking the “Select All” button below the values box or you can select specific ones you want to use by clicking on the “Select Values” box and selecting them one by one.
- Adding a new Attribute:
- Click the “Add New” button at the top of the settings.
- Add a name for your attribute (examples: size)
- Add the values (variations) you need. Separate each variation/value with | (i.e.: Dosage | 5mg | 10mg | 15mg )
- Adding a Global Attribute:
- Click “Save Attributes”.
- Click on the Variations tab on the left.
- Click either:
- Generate variations to add all possible variations from all attributes values/variations.
- Add manually to specify which variables will be available for the product.
- Click on each variation to expand to its product menu.
- Enter product information: Price, stock status, weight, dimensions, shipping class, and description. Add Linked Products if needed. Repeat for all variations.
- Optional: Use the “Bulk Actions” dropdown at the top of the “Variations” menu to set product information for all variations at once.
- Click Save changes at the bottom of the variations menu.
- Click “Publish” in the top right of the screen to publish the product.
Prescribery Sync Product
Each WooCommerce product now includes a new tab:
Product → Product Data → Prescribery → Sync with Dashboard
Enable this checkbox for every product that should:
Sync with the dashboard
Add the blood works and consultation fee
Select the product to sync with Prescribery
If disabled, the product will not interact with the Prescribery Dashboard.